Android 12 has been available for months now, and we’ve also seen Android 12L betas rolling out in recent weeks. Google isn’t stopping here, though, as it’s now announced the release of the Android 13.

Android 13 is build for user privacy with photo picker and notification permission. Improve productivity with themed app icons, per-app languages, and clipboard preview. Build for modern standards like Bluetooth LE Audio and MIDI 2.0 over USB. Deliver a better experience on tablets and large screens. But what if you want to actually install this on your phone? Well, you can flash a system image to a compatible phone, and I’ve got a way to do it. Brought to you by Nippon.
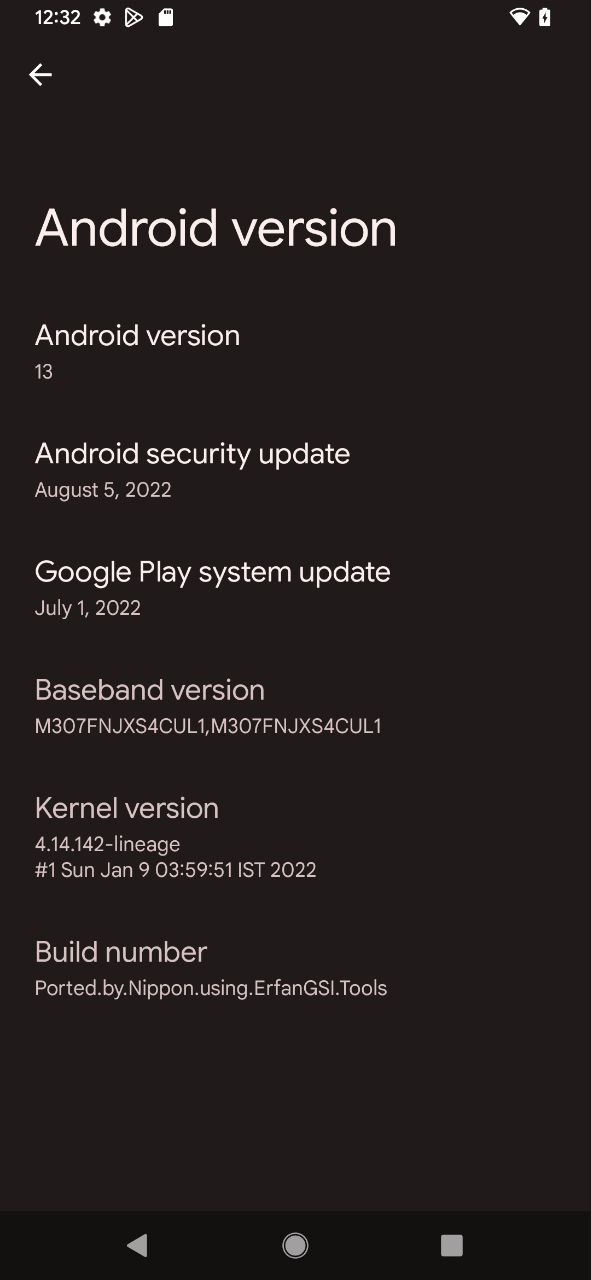
| Android Version | 13 |
| Security Patch | 2022-08-05 |
| Supported Devices | Arm64 AB |
| Raw Image Size | 2.54 gb |
| Download Size | 1.24 gb |
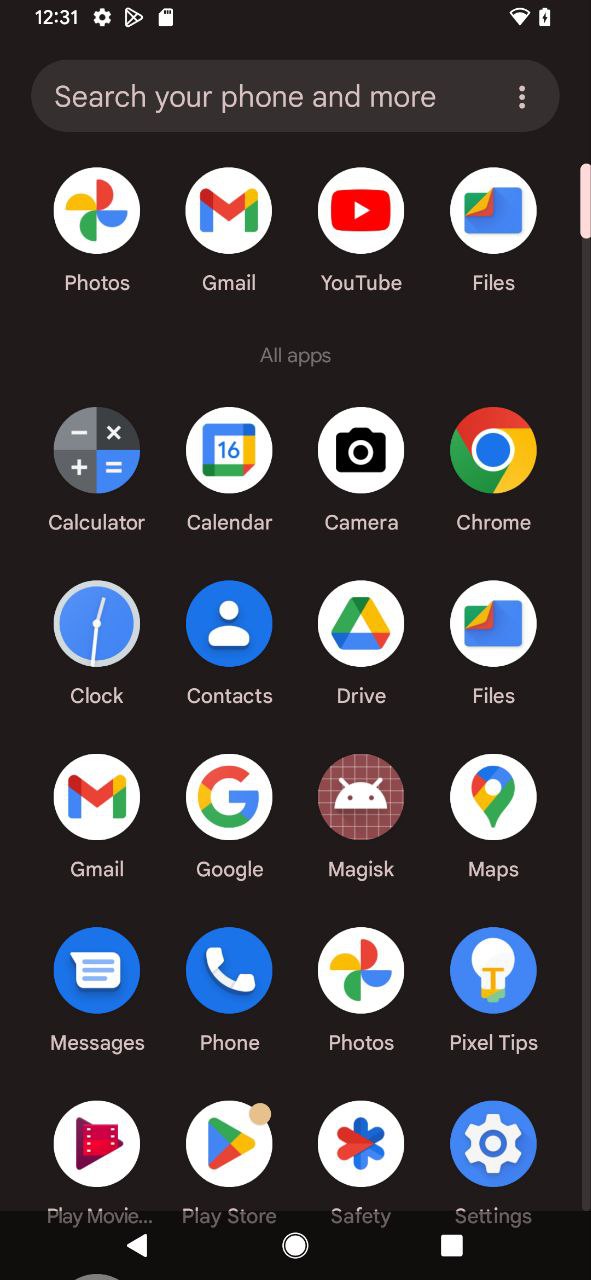
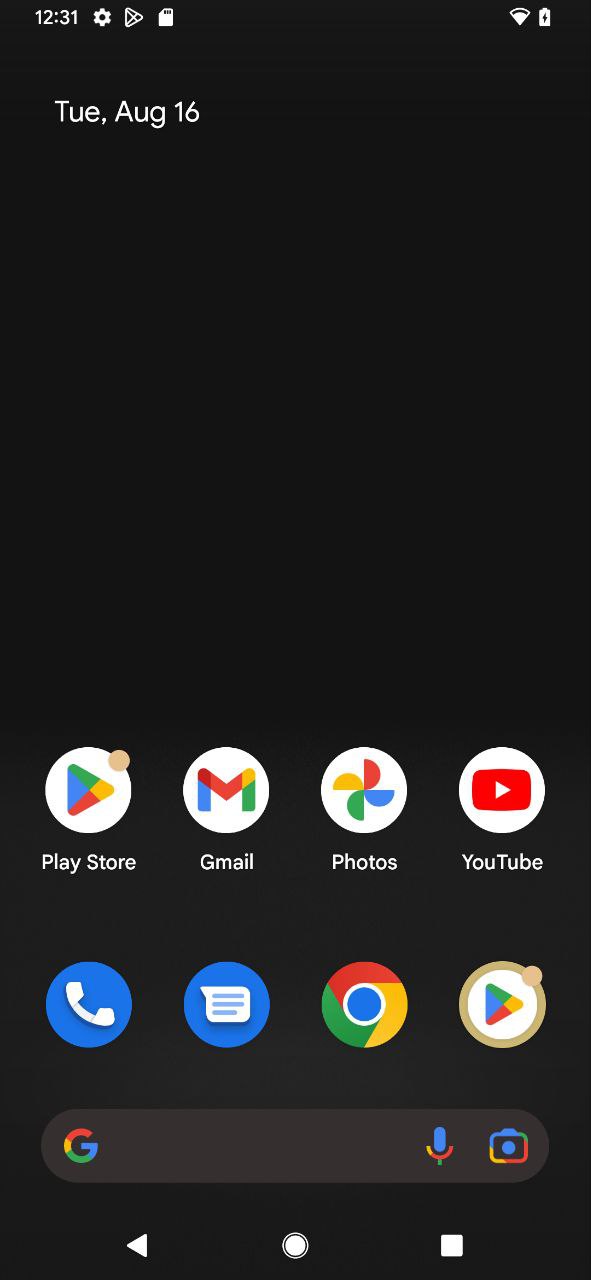
Screenshots:


Download and Terms
- Your phone must be Installed Custom Recovery.
- Download Android 13 file (.gz file).
- Extract the file using any extractor.
- Download Disable_ForceEncrypt_03.04.2020.zip
- Copy rom to sd card or pendrive
Install Android 13
- Enter TWRP Recovery Mode.
- Select Wipe – Advanced (Dalvik, Cache, System and product ) Swipe to wipe.
- Format Data
- Select Install – select Android 13.img as system, Swipe to confirm Flash.
- Select Install - select Disable_ForceEncrypt_03.04.2020.zip, swipe to confirm flash
- Select Mount - Mount System and Vendor
- Select Advanced - File Manager - Delete vendor/overlays
- Select Reboot – System or recovery.
- Setup the Phone.
- Enjoy the Rom.
Rooting (if necessary)
You can flash Magisk if you want to gain root access on your device. This step is optional.
- Change the extension of the Magisk file from “.apk” to “.zip”. This will make it flashable.
- Reboot to recovery.
- Select install.
- Choose the Magisk zip file.
- Swipe to confirm flash.
- Reboot to system.
- Now go to app drawer and click on the Magisk app icon.
- Install Magisk Manager. Magisk Manager will ask to do additional setups. Let it do its job and the app will automatically reboot your device.
- Done! You can use Root Checker to check it, Enjoy!